- The Mischievous Librarian
- Feb 17, 2022
- 1 min read

(Original Post: March 14, 2020)


I thoroughly enjoyed learning alongside the Grade 4 and 5 students as they inquired about plant adaptations in Term 1.
My first post included our work on Venus fly traps and the lianas that took over the tree in the intermediate shared area.
The students added writing pieces to the bulletin board after our sessions in the library.
After exploring adaptations caused by lack of sunlight and nutrient-rich soil, we moved onto water and seed dispersal adaptations.

Lilies and Mushrooms
We watched a few videos about the water lilies and then worked in small groups to make the water lilies and pads.
Video links:

Each group member made a specific part of the plant adaptation:
Red and white lilies (construction paper, markers and brass fasteners - demonstrating the phases of the lily’s life cycle)
Lily pads (construction paper - including a 3D rim and spikes on the underbelly)
Beetles (clay - using library books about beetles as guides)
Seed pods (clay and coffee filters) *students joked that the seed pods looked like wontons!
Once again we examined a few videos about puffball fungi before making our own.

Videos:
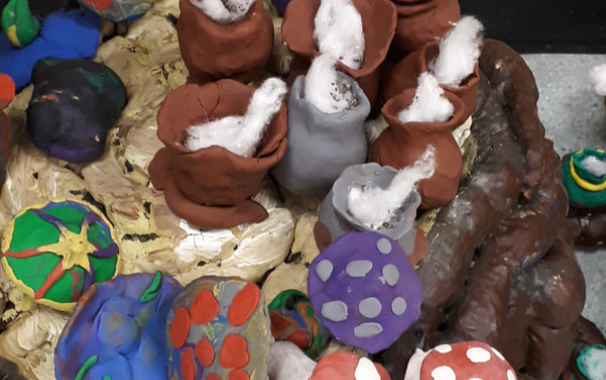
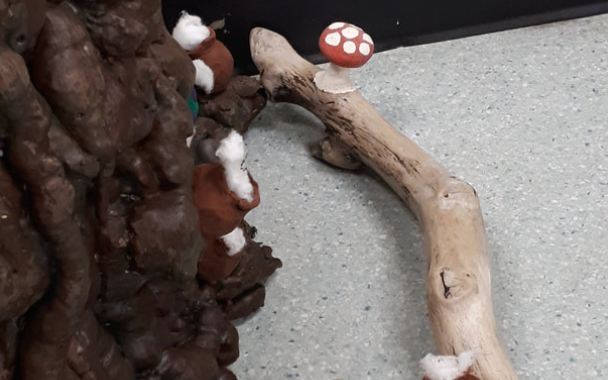
The mushrooms were constructed by:
Covering a Styrofoam ball with modelling clay (leaving an opening for the spores to escape)
Hot gluing a cotton ball in the opening (simulating the release of spores)
Hot gluing a pinch of chia seeds atop of the cotton ball (simulating actually seeds)
We used the tree stump props from the drama studio as bases for the mushrooms. The students made extra bright and beautiful mushrooms for fun to add to the display.